
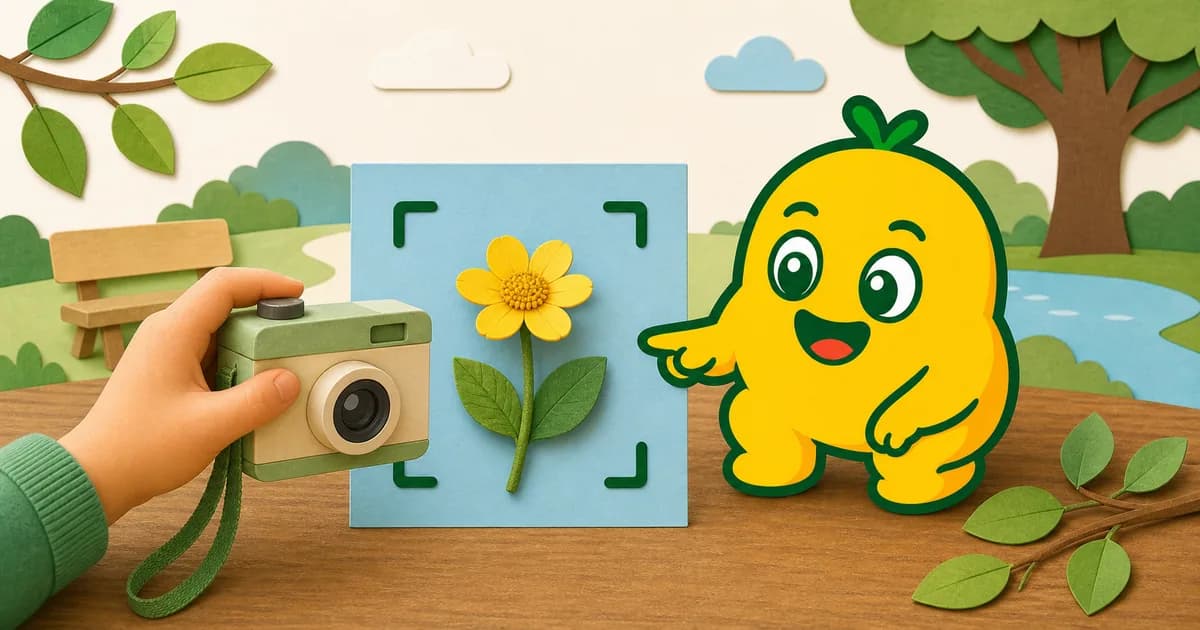
A useful flower photo begins before the shutter
Plant recognition works from the details visible in a photo. A flower hidden behind other stems, cropped at the petals, or photographed in deep shadow gives any recognition service less information to work with. A clear photo cannot guarantee a correct result, but a few simple choices can make the subject easier to inspect.
KORENANI includes a Plant mode for flowers, leaves, trees, and garden plants. Use it as a starting point for curiosity, not to decide whether a plant is edible, poisonous, medicinal, or safe to touch.
Five steps for a clearer flower photo
1. Keep the flower fully inside the frame
Move close enough to see the shape, but do not crop off petals, the center of the flower, or the point where it meets the stem. If the plant is large, begin with the whole plant and take a second photo of the flower.
2. Use soft, even light
Outdoor shade or a lightly overcast sky often shows color and texture more evenly than harsh midday sun. Avoid placing the bright sky directly behind the flower. If the flower is moving in the wind, wait for a short pause rather than holding the plant still.
3. Simplify the background
Change your position so the flower sits against grass, soil, a plain wall, or another calm background. When several flowers overlap, choose one clear subject. You do not need to pick the flower or place it on a table.
4. Include helpful plant details
One flower photo may not show everything. Without damaging the plant, you can also photograph:
- The arrangement of leaves on the stem
- The overall height and shape of the plant
- Buds or seed heads growing nearby
- The bark or branching pattern for a flowering tree
Keep these as separate photos rather than trying to fit every detail into one crowded frame.
5. Hold the camera steady
Use both hands, pause before pressing the shutter, and check that the flower—not the background—is sharp. If your first photo is blurry, step back slightly and try again.
A quick checklist
| Check | What to look for |
|---|---|
| Subject | One main flower is easy to find |
| Frame | Petals and flower center are not cropped |
| Light | Details are visible without deep shadow |
| Background | Other stems and objects do not cover the flower |
| Context | A separate photo can show leaves or the whole plant |
Use Plant mode, then review the result together
Choose Plant mode before recognition. If the result seems unrelated, compare the photo with what was in front of you. You can move closer, change angle, or take a new photo that includes a leaf. Do not keep changing the photo until you get the answer you expected; a different result may be a signal to consult a trusted field guide or knowledgeable adult.
Read What to Do When an Image Recognition Result Looks Wrong for a calm retry process.
Photograph without disturbing the plant
- Stay on permitted paths and follow garden or park rules.
- Do not pick flowers where collection is prohibited.
- Avoid touching unfamiliar plants.
- Do not use an image result to make food or health decisions.
- Let a child observe with a parent or guardian nearby.
The best photo is one that keeps both the subject and the observer safe. A clear view of one flower can be enough to begin a useful conversation.
Read next
Learn when to switch between General, Insect, and Plant Recognition Modes, or explore Turn a Family Walk into a Personal Field Guide.